For Upgrade SuiteCRM from old version to new version, Needs to Download Upgrade zip from following link,
SuiteCRM Upgradation Zip Download
Steps For Installing Upgradation Zip :
Notes: Before installing Upgradation Zip, please take your SuiteCRM and Database backup first.
Upgrade SuiteCRM 7.7.9 to 7.8.31 :
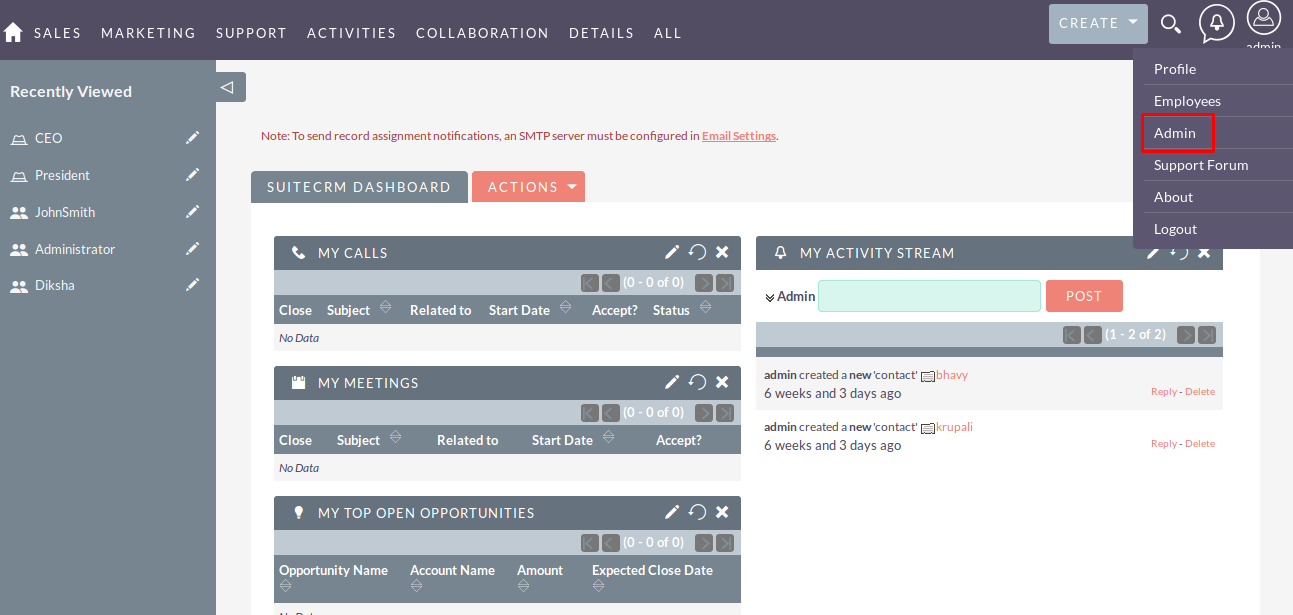
- To open the Administration Page, Click on the Admin tab as shown in below screenshot.
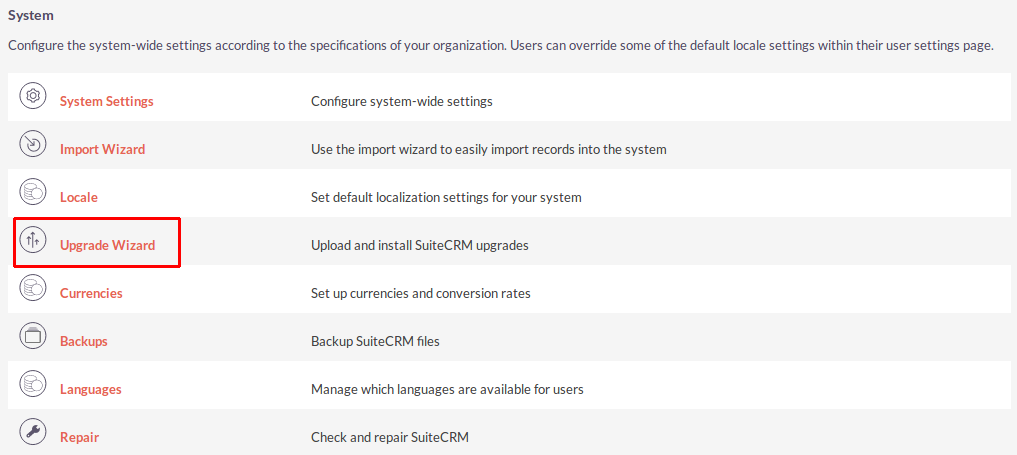
- Open Administration page, Click on “Upgrade Wizard” from the System Section.
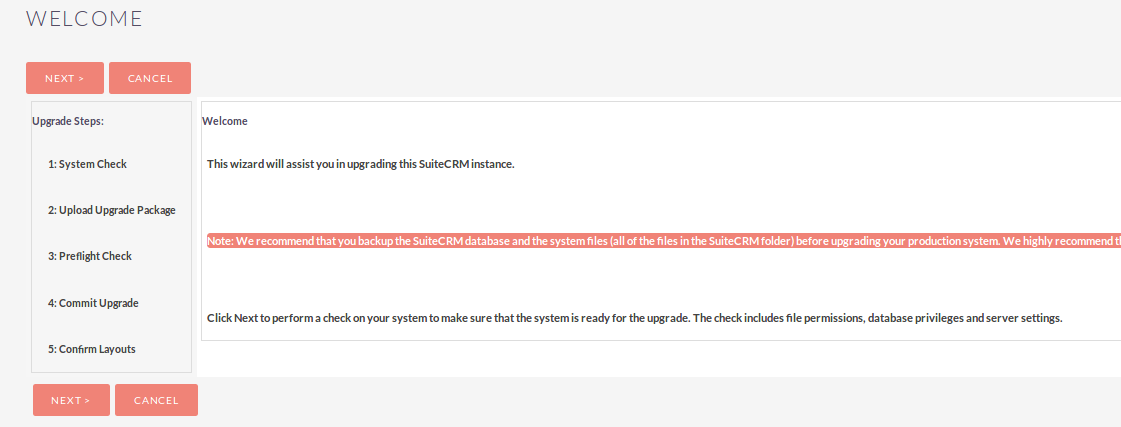
- After clicking on “Upgrade Wizard”, the welcome page will be open. Click on “Next” Button from this page.

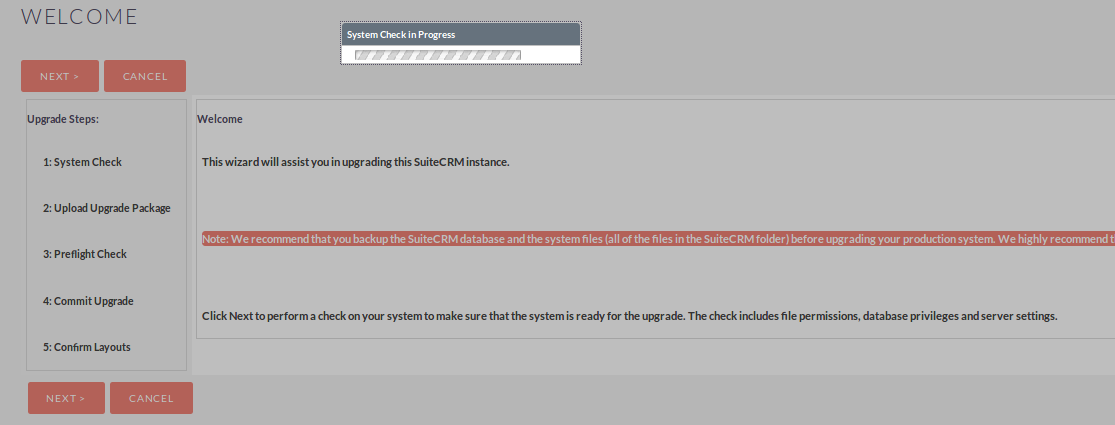
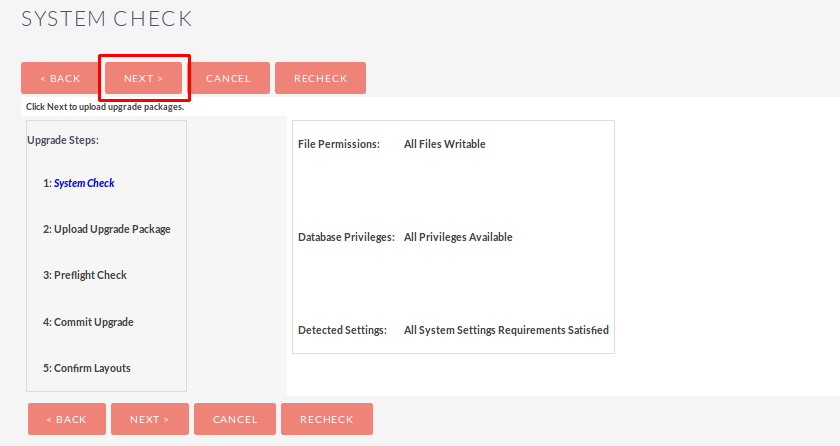
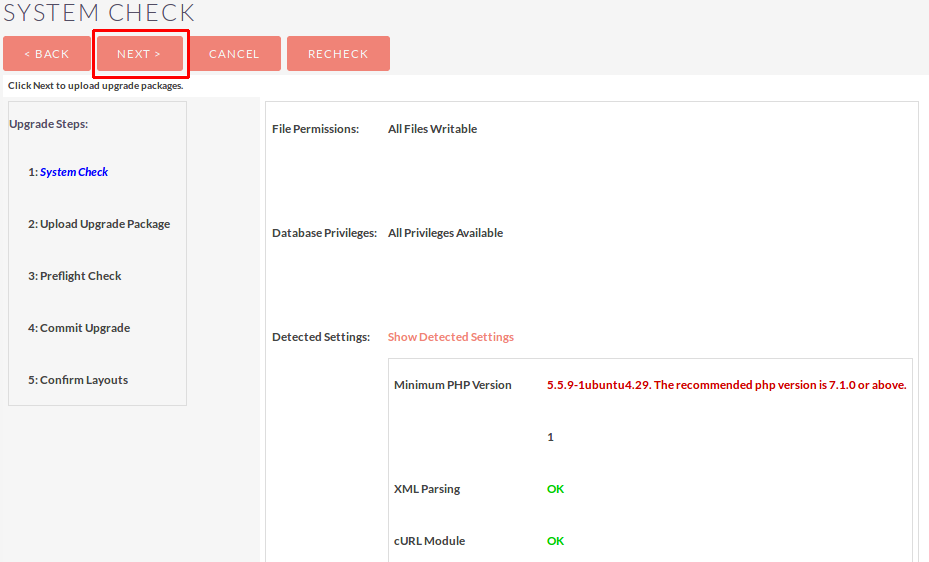
- After Click on “Next” Button, it displays the System Checks page.
- Click on the “Next” Button if the system check is successful. Once you click on the “Next” Button, it’ll display the “Upload an Upgrade page”.

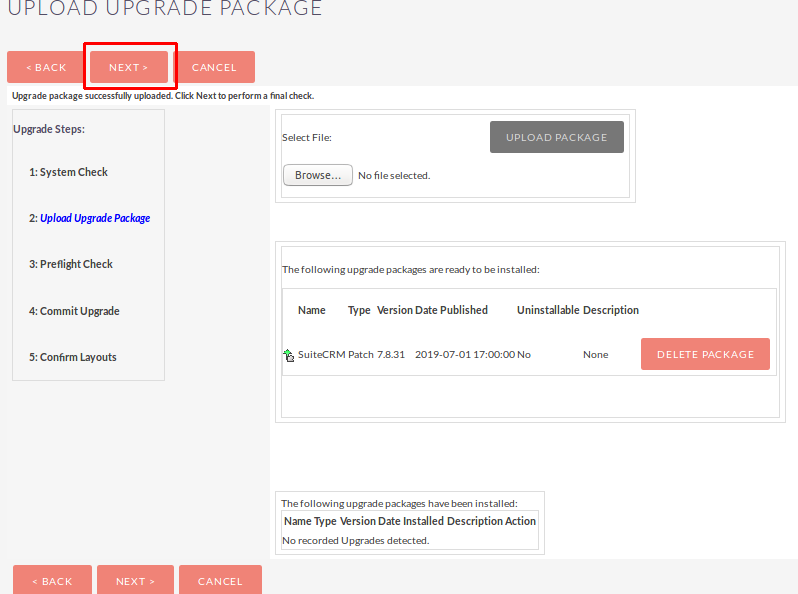
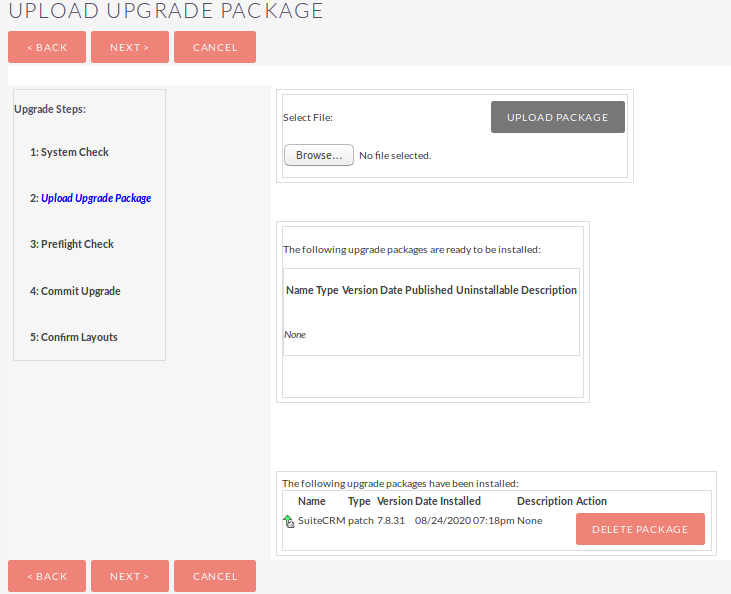
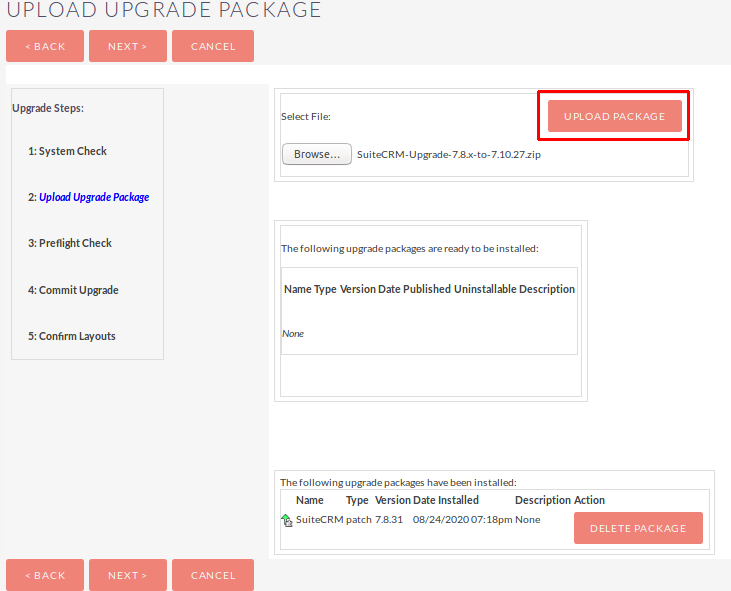
- From the “Upload and Upgrade” page, click on “Browse” Button to Install the Upgradation zip and click on “Upload Package” Button.


- Once you click on the “Upload Package” Button , it’ll be shown like the screenshot below. After successfully importing zip, click on “Next” Button.

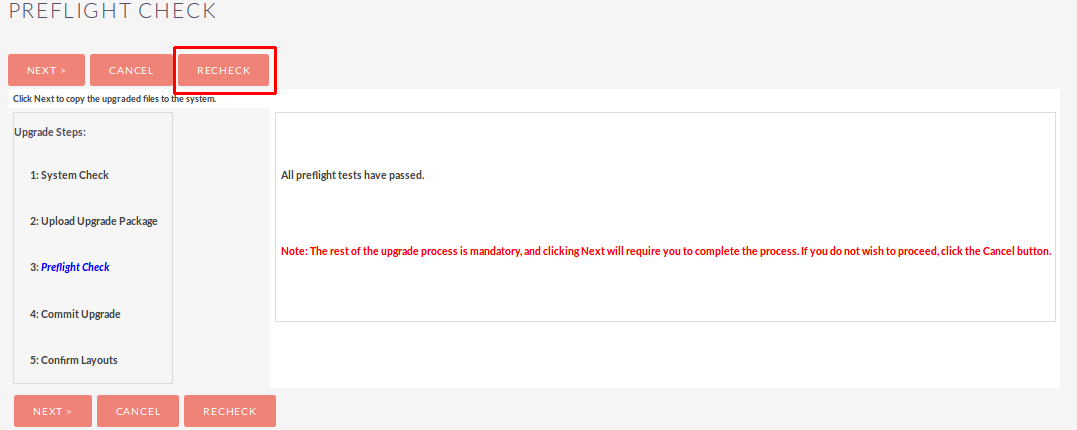
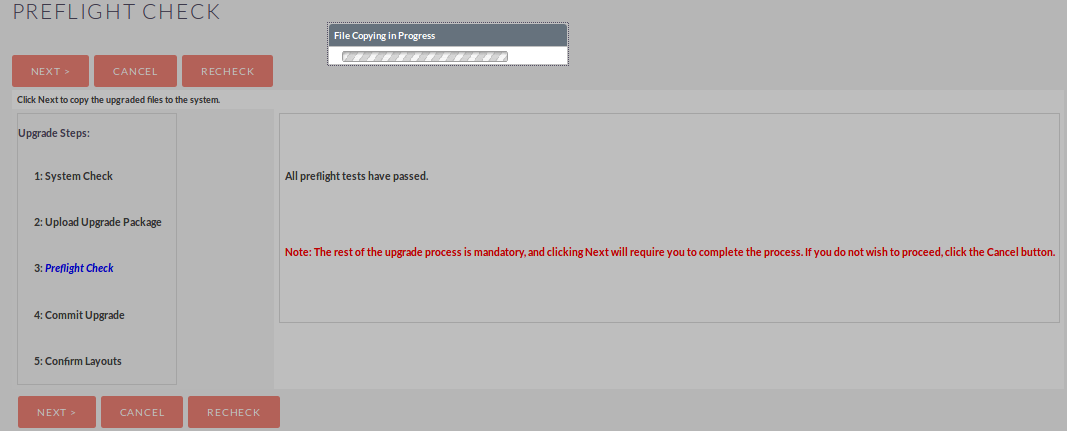
- Once you click on “Next” Button, It displays the “Preflight Check” page. Click “Recheck” to return “Preflight Check”. Click Next to skip this step.
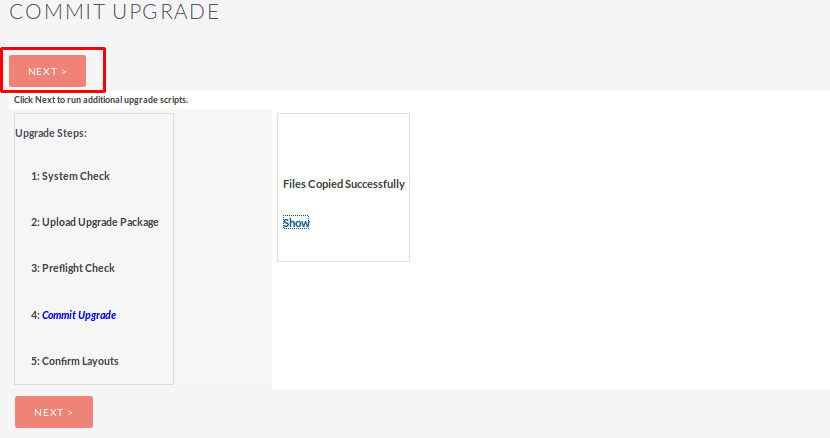
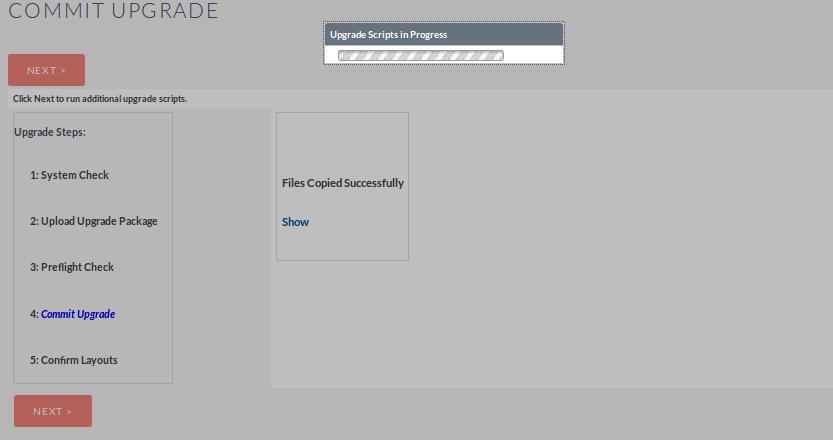
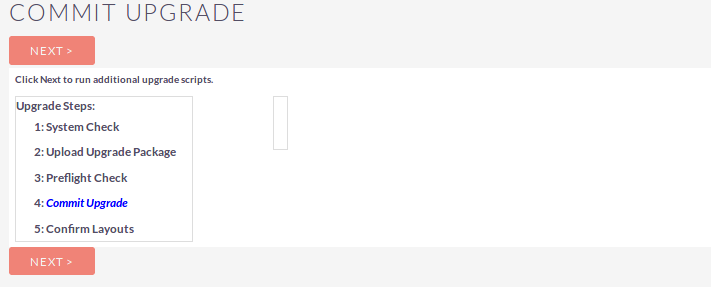
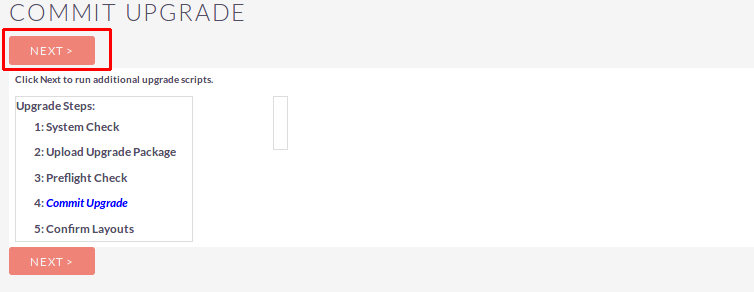
When you click on the “Next” button, it displays the “Commit Upgrade” page.

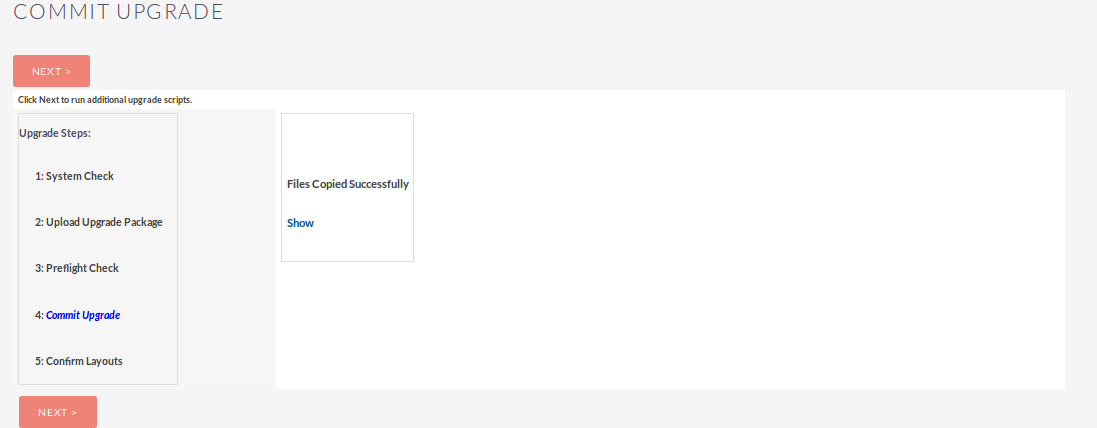
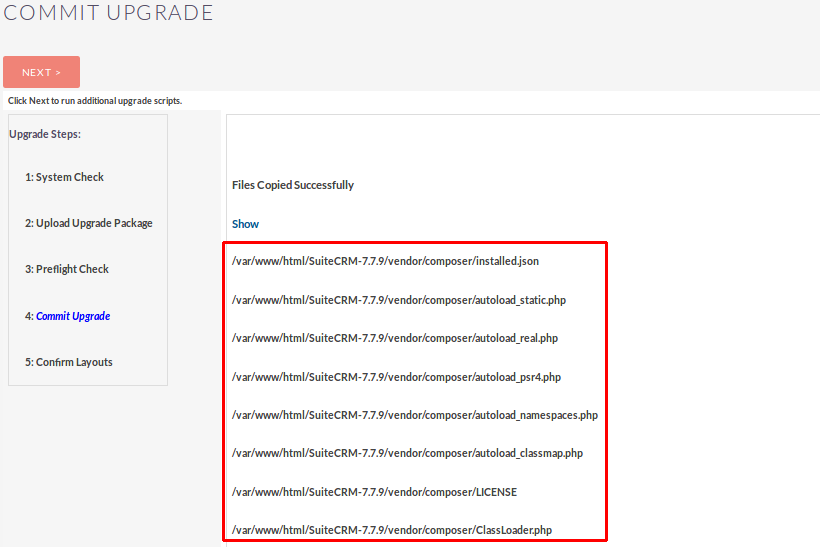
- You can also click on “Show” to see a list of files that were copied and the rebuilt results.

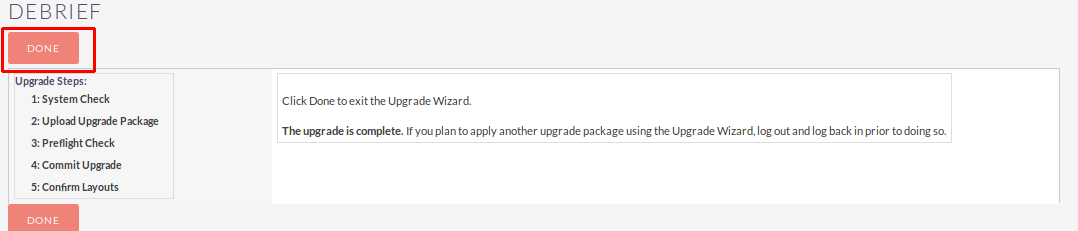
- Click on the “Next” Button from the “Commit Upgrade” page, it’ll display confirm layout(Debrief) Page.

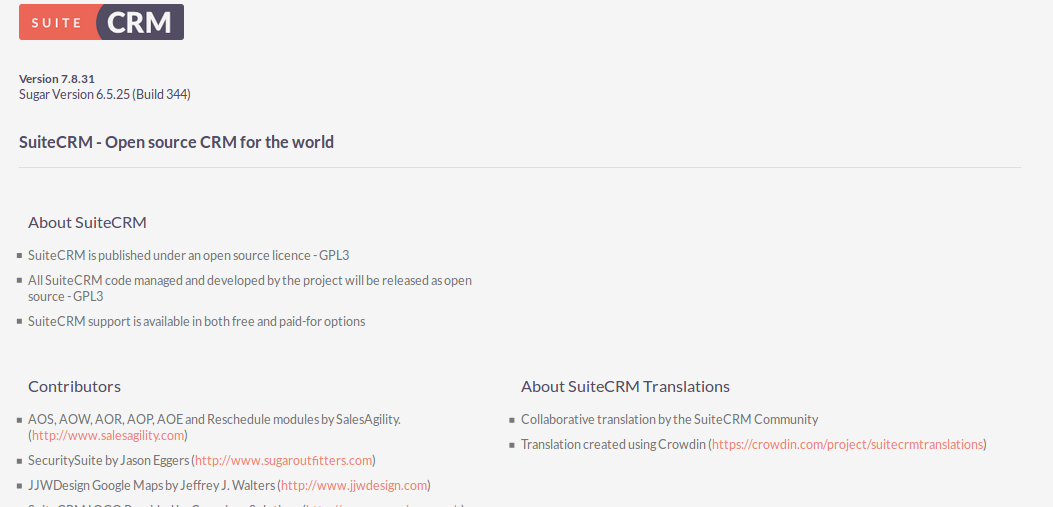
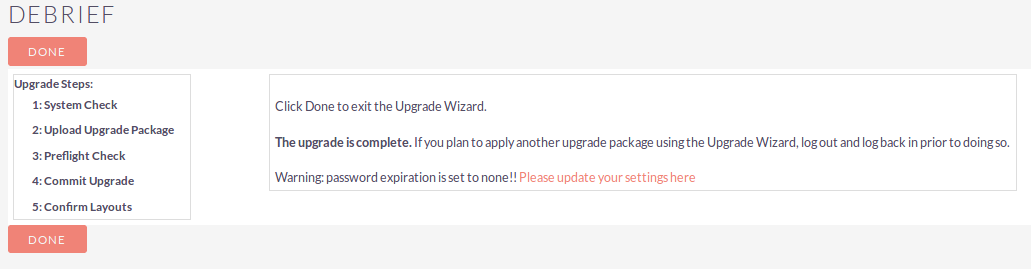
Click on “Done” Button from “Debrief” Page and it’ll redirect to the CRM About page.
Note : After Upgrade SuiteCRM-7.7.9 to 7.8.31 logout from your CRM and Login again.
Upgrade SuiteCRM 7.8.31 to 7.10.27 :
- To open the Administration Page, Click on the Admin tab as shown in below screenshot.
- Open Administration page, Click on “Upgrade Wizard” from the System Section.
- After clicking on “Upgrade Wizard”, the welcome page will be open. Click on “Next” Button from this page.
- After Click on “Next” Button, it displays the System Checks page.
- Click on the “Next” Button if the system check is successful. Once you click on the “Next” Button, it’ll display the “Upload an Upgrade page”.
- From the “Upload and Upgrade” page, click on “Browse” Button to Install the Upgradation zip and click on “Upload Package” Button.

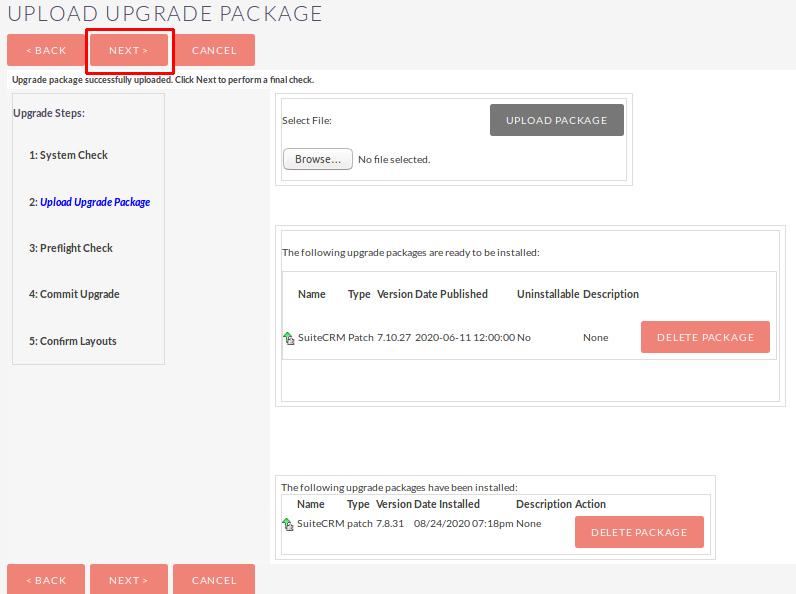
- Once you click on the “Upload Package” Button , it’ll be shown like the screenshot below. After successfully importing zip, click on “Next” Button.


- Once you click on “Next” Button, It displays the “Preflight Check” page. On this page display one Notice as shown in the below screenshot.
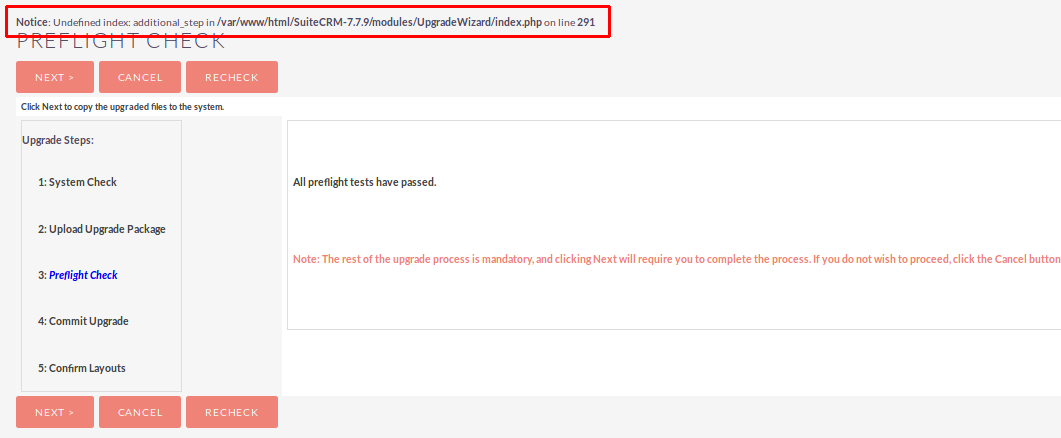
For Remove that Notice, open the file which was mentioned in Notice and update the changes as per suggestion in the below screenshot.
Before Change that line :

After Change that line :

After changes on that line, Reload the Page & Notice Will be removed from “Preflight Check” Page.

When you click on the “Next” button, it displays the following page as shown in below screenshot.


After giving permission on CRM and Refresh page, it displays the following Warning and Fatal Error as shown in the below screenshot.

For Removing Warning and Fatal Error, you needs to replace upload_file.php and Add other file as listed below :
- include/upload_file.php
- include/UploadFile.php
- include/UploadMultipleFiles.php
- include/UploadStream.php
You can copy the above files from any SuiteCRM Version 7.10.* Instance(CRM) and Upload in CRM which you’re upgrading.
After adding these files, Refresh Page and it displays the “Commit Upgrade” page.
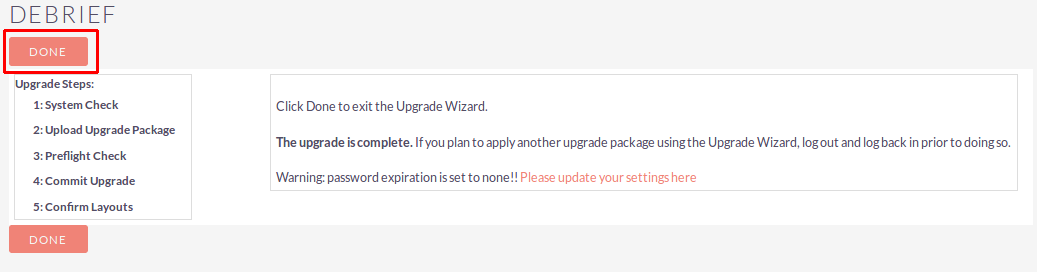
- Click on the “Next” Button from the “Commit Upgrade” page, it’ll display the confirm layout(Debrief) Page.
Click on “Done” Button from “Debrief” Page and it’ll redirect to the CRM About page.

I hope it helps you